Devices and agents
Working with devices
Find devices, read a device's page, wake one that is off, run a command or a live shell from its Terminal, and move a user to a new computer.
Devices lists every device in the clients you can see, active first and by name. Pick a client in the Client list at the top to see only that client's devices. Search by name, serial number or user, show a group or tag, and use Next and Previous to move between pages. A page shows 25 devices; pick 50 to 300 in Show … per page at the top right or bottom right, and Enlist remembers it in this browser. The columns are Device, Client, System, Standard and Last seen.


Devices by client #
Open Clients to see each client with its number of devices. Pick a client to open its page: only that client's devices, with search and Add devices for that client. The client's sites, domain join accounts and connectors are on its Client settings tab. On the Devices list, the client name on each row opens that client's page too.
To have new devices land in the right client by themselves, pre-register their serial numbers.
Agent updates #
At the bottom of Devices, Agent updates shows how Enlist's agent updates are reaching your devices, for each kind of device: the version devices are offered now, which versions your devices run, and for each update how many devices updated and how many failed. An update Enlist stopped says why: Halted (too many devices failed on it, for every account), Held for your devices (your early devices failed on it), Waiting (early devices elsewhere failed on it) or Withdrawn. A device that fails keeps its old agent and tries the next version. While devices are still updating, the panel checks again every minute. Owners and admins see it (GET /agents/updates).
A device's page #
Each device has its own address, /devices/ followed by its ID. Alert emails, PSA tickets and the Device health card on Home link straight to it, and you can share it with a teammate.
- About
- Hardware, serial number, OS, client and site, who it's assigned to (Edit user), and on a Mac Full Disk Access and Find My.
- Onboarding
- How its onboarding is going. Pick the status line to open every step: whether it is done, running, waiting or failed, how long it took or has been running, and what the running step is printing now (it updates every few seconds). Show output shows what any step printed, and each failed try says why it failed, also while the next try runs. Seeing a script step's output takes the right to run scripts on the device. When the blueprint has no steps for this kind of device (a Mac-only blueprint and a new PC), nothing runs and nothing fails: the card says Nothing to onboard and why, and you add steps for that platform or pick another blueprint. Channels that chose Not onboarded under Notifications get one message when this happens, with why and what to fix.
- Remote control
- Connect with your own remote control tool (below).
- Network and Wake-on-LAN
- Its wired and Wi-Fi adapters with their hardware and IP addresses, and Wake up while it is off (below).
- Tags
- Labels you choose (see Tags and groups).
- Apps from your library
- Installed and newest versions, with Update, Roll back and Uninstall, and Pin to this version or Remove pin under each app (see How patching works). Patch ring picks the ring the device gets patches in. Install an app puts one app from your library on the device: pick the app and its version, and the install shows as queued, then installing, then installed or why it failed, updating on its own. While the device is still onboarding, these wait until it's Ready.
- Keep on standard
- Its last daily check, with Check now (see Keep on standard).
- Secrets
- Its admin password and recovery key (see Admin passwords and recovery keys).
- Terminal
- Run a command on it (below).
- Copy apps to a blueprint
- Match its software to the library to build a blueprint.
Remote control #
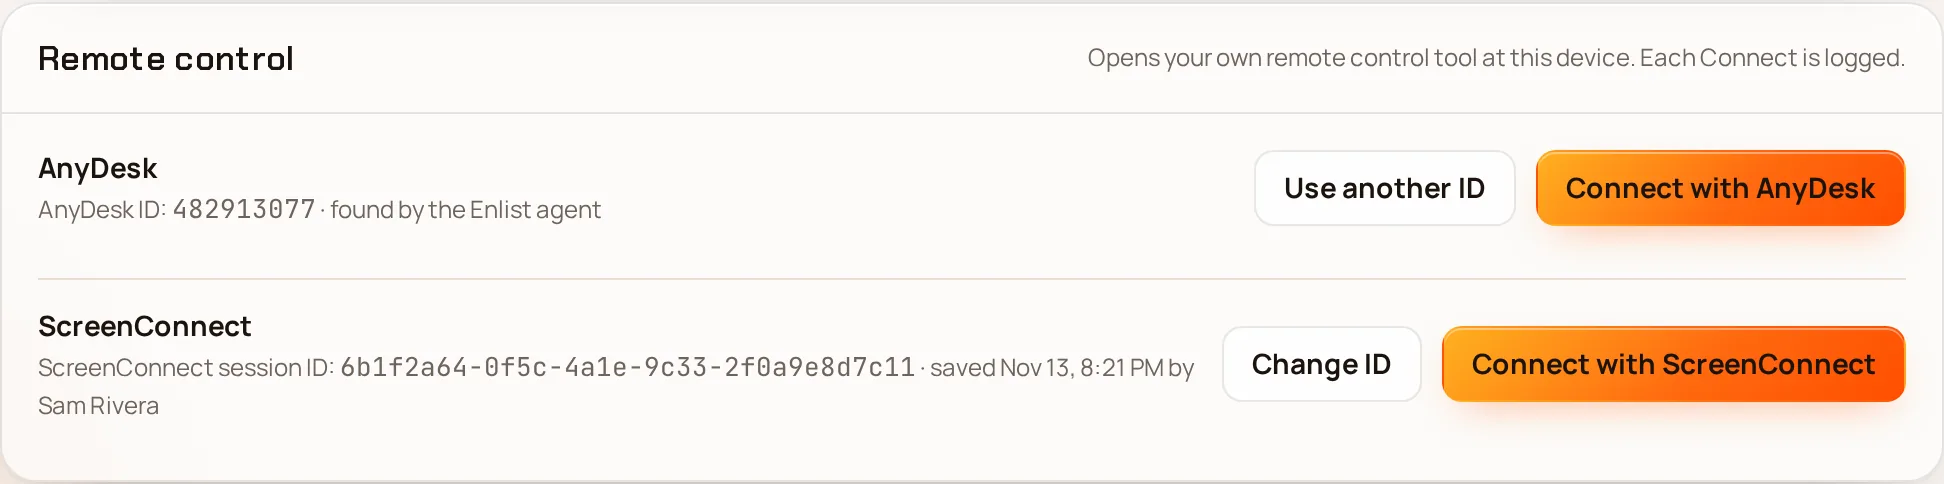
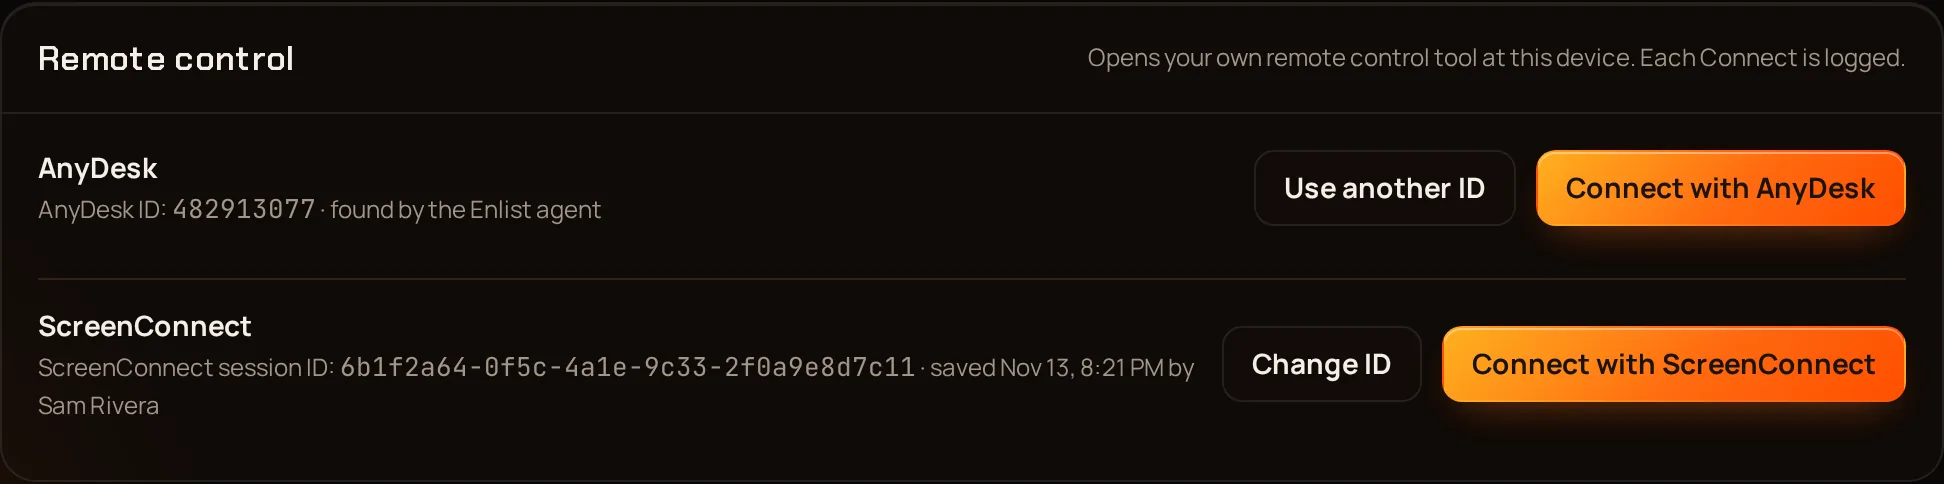
The Remote control panel opens the remote control tool your MSP already uses, such as ScreenConnect, Splashtop, TeamViewer or AnyDesk, straight at this device. Enlist doesn't run the remote session itself: your tool opens and asks for its own sign-in, as it always does.
Set up your tool (owners and admins) #
Go to Settings, then Remote control, and pick Add a tool….
Pick the Tool. ScreenConnect, Splashtop, TeamViewer and AnyDesk fill in the link for you. For ScreenConnect, replace
YOUR-INSTANCEwith your own address (foracme.screenconnect.com, typeacme), or use your own server's address if you host it yourself. For any other tool pick Another tool (your own link) and paste the link it documents for opening one computer.Check A device opens, which shows the link with sample values, and pick Add tool. Approve it with your passkey.
A link starts with https://, or with st-business:// (Splashtop) or anydesk: (AnyDesk) to open the app on the tech's computer. It can use {remoteId} (the device's ID in that tool), {deviceName}, {serial} and {deviceId} (Enlist's ID for the device). The tool's own address must come before any of these, and each value is URL-encoded, so a device's ID can never send anyone to another site. You can set up 10 tools.
Let the Enlist agent find each device's ID #
For ScreenConnect, Splashtop, TeamViewer and AnyDesk, the Enlist agent can read the device's ID from the tool installed on it, so nobody has to type or import it. The ready-made tools turn this on; for a tool you set up yourself, set The Enlist agent finds the ID on the tool. The ID shows on the device page with found by the Enlist agent a few minutes after the device next reports in, and changes by itself if the tool is reinstalled. Windows devices report all four. Macs report ScreenConnect, TeamViewer and AnyDesk; add Splashtop IDs for Macs yourself. If a device has more than one ScreenConnect client, the one whose address matches your link is used, and if none matches, add the ID yourself.
An ID you type on the device page or import is always used instead. Pick Remove ID to go back to the one the agent found. Set the tool to No, we add IDs ourselves to stop using what the agent finds. The agent only reads the ID, never a password. Devices start reporting IDs once they have the Enlist agent update that adds this.
Store each device's ID #
Most tools need the device's own ID in that tool, such as the ScreenConnect session ID or the AnyDesk ID. On the device page pick Add ID, paste it and pick Save. Spaces are dropped, so 123 456 789 is fine. To fill in many at once, an owner or admin picks Import IDs… beside the tool in Settings and pastes or uploads lines of serial number, ID (a CSV most tools can export). Serial numbers that match no active device, or more than one, are listed and left alone.
Connect #
Pick Connect with and the tool's name. A web tool opens in a new tab; an app link asks your browser to open the app, which must be installed on your computer. You need the right to work on the device (owners, admins and technicians). Every Connect, and every ID change, is in the activity log with who did it. A retired device has no Connect.
Wake a device that is off #
The Network and Wake-on-LAN panel lists the device's wired and Wi-Fi adapters as its agent last reported them: each one's hardware (MAC) address and IP address. While the device is asleep or switched off, Wake up sends it a Wake-on-LAN packet.
A Wake-on-LAN packet can't travel across the internet or between networks, so another device has to send it from the same network. Enlist picks up to three devices that are online, belong to the same client (and the same site, when both have one), and are on the same network as the sleeping device was the last time it reported. The panel names them before you press anything. Each one sends the packet three times on its own network only, and nothing changes on it.


Open the device's page. Its header says Last seen when it is offline.
In Network and Wake-on-LAN, check which devices will send the wake-up, and pick Wake up.
A device with Wake-on-LAN on usually comes online within a couple of minutes, and its header changes to Online now.
For it to work, Wake-on-LAN must be on in the device's firmware (BIOS or UEFI, often called Wake on LAN or Power on by PCI-E) and on its network adapter (in Windows, the adapter's Wake on Magic Packet setting), and on a Mac Wake for network access in Energy settings. A wired connection is the most reliable; most laptops can't be woken over Wi-Fi.
When Wake up is off, the panel says why: the device's agent hasn't reported its adapters yet (devices start reporting them once they have the Enlist agent update that adds this), it had no network address when it last reported, or no other device of that client on its network is online. You need the right to work on the device and on the devices that send the packet (owners, admins and technicians). Each wake-up is in the activity log with who asked for it and which devices sent it. Pressing again within a minute sends nothing more.
Terminal #
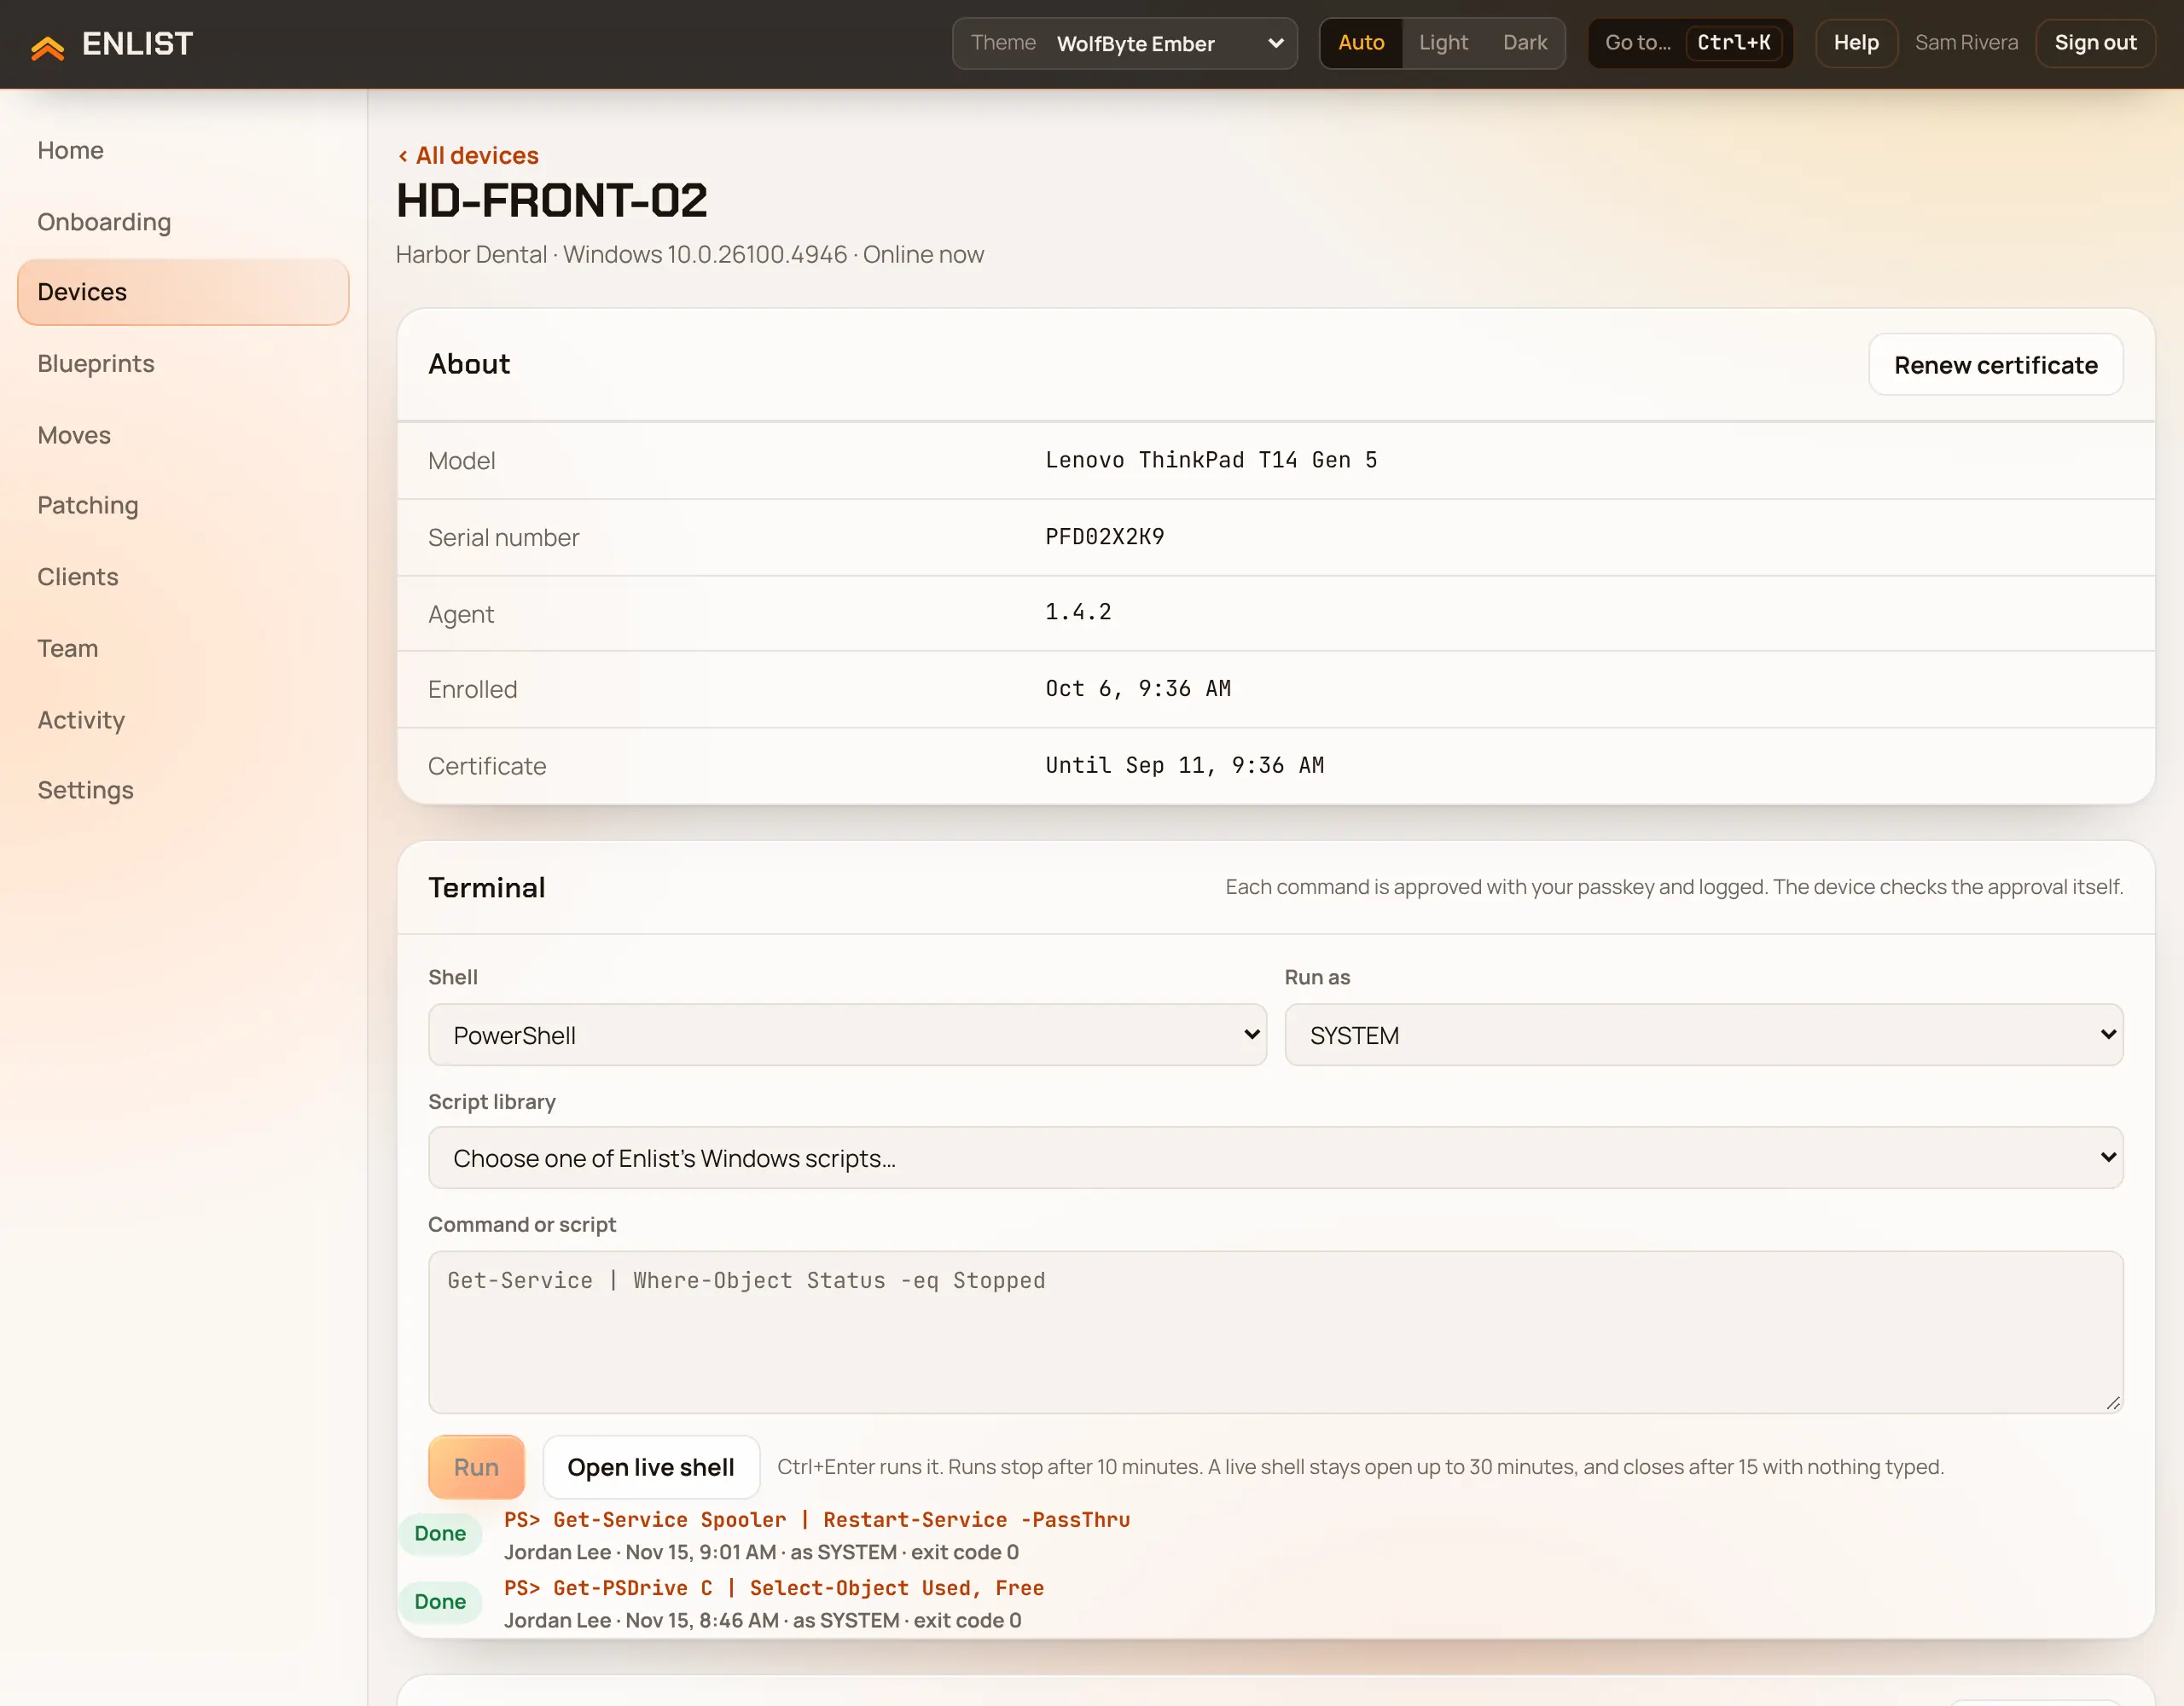
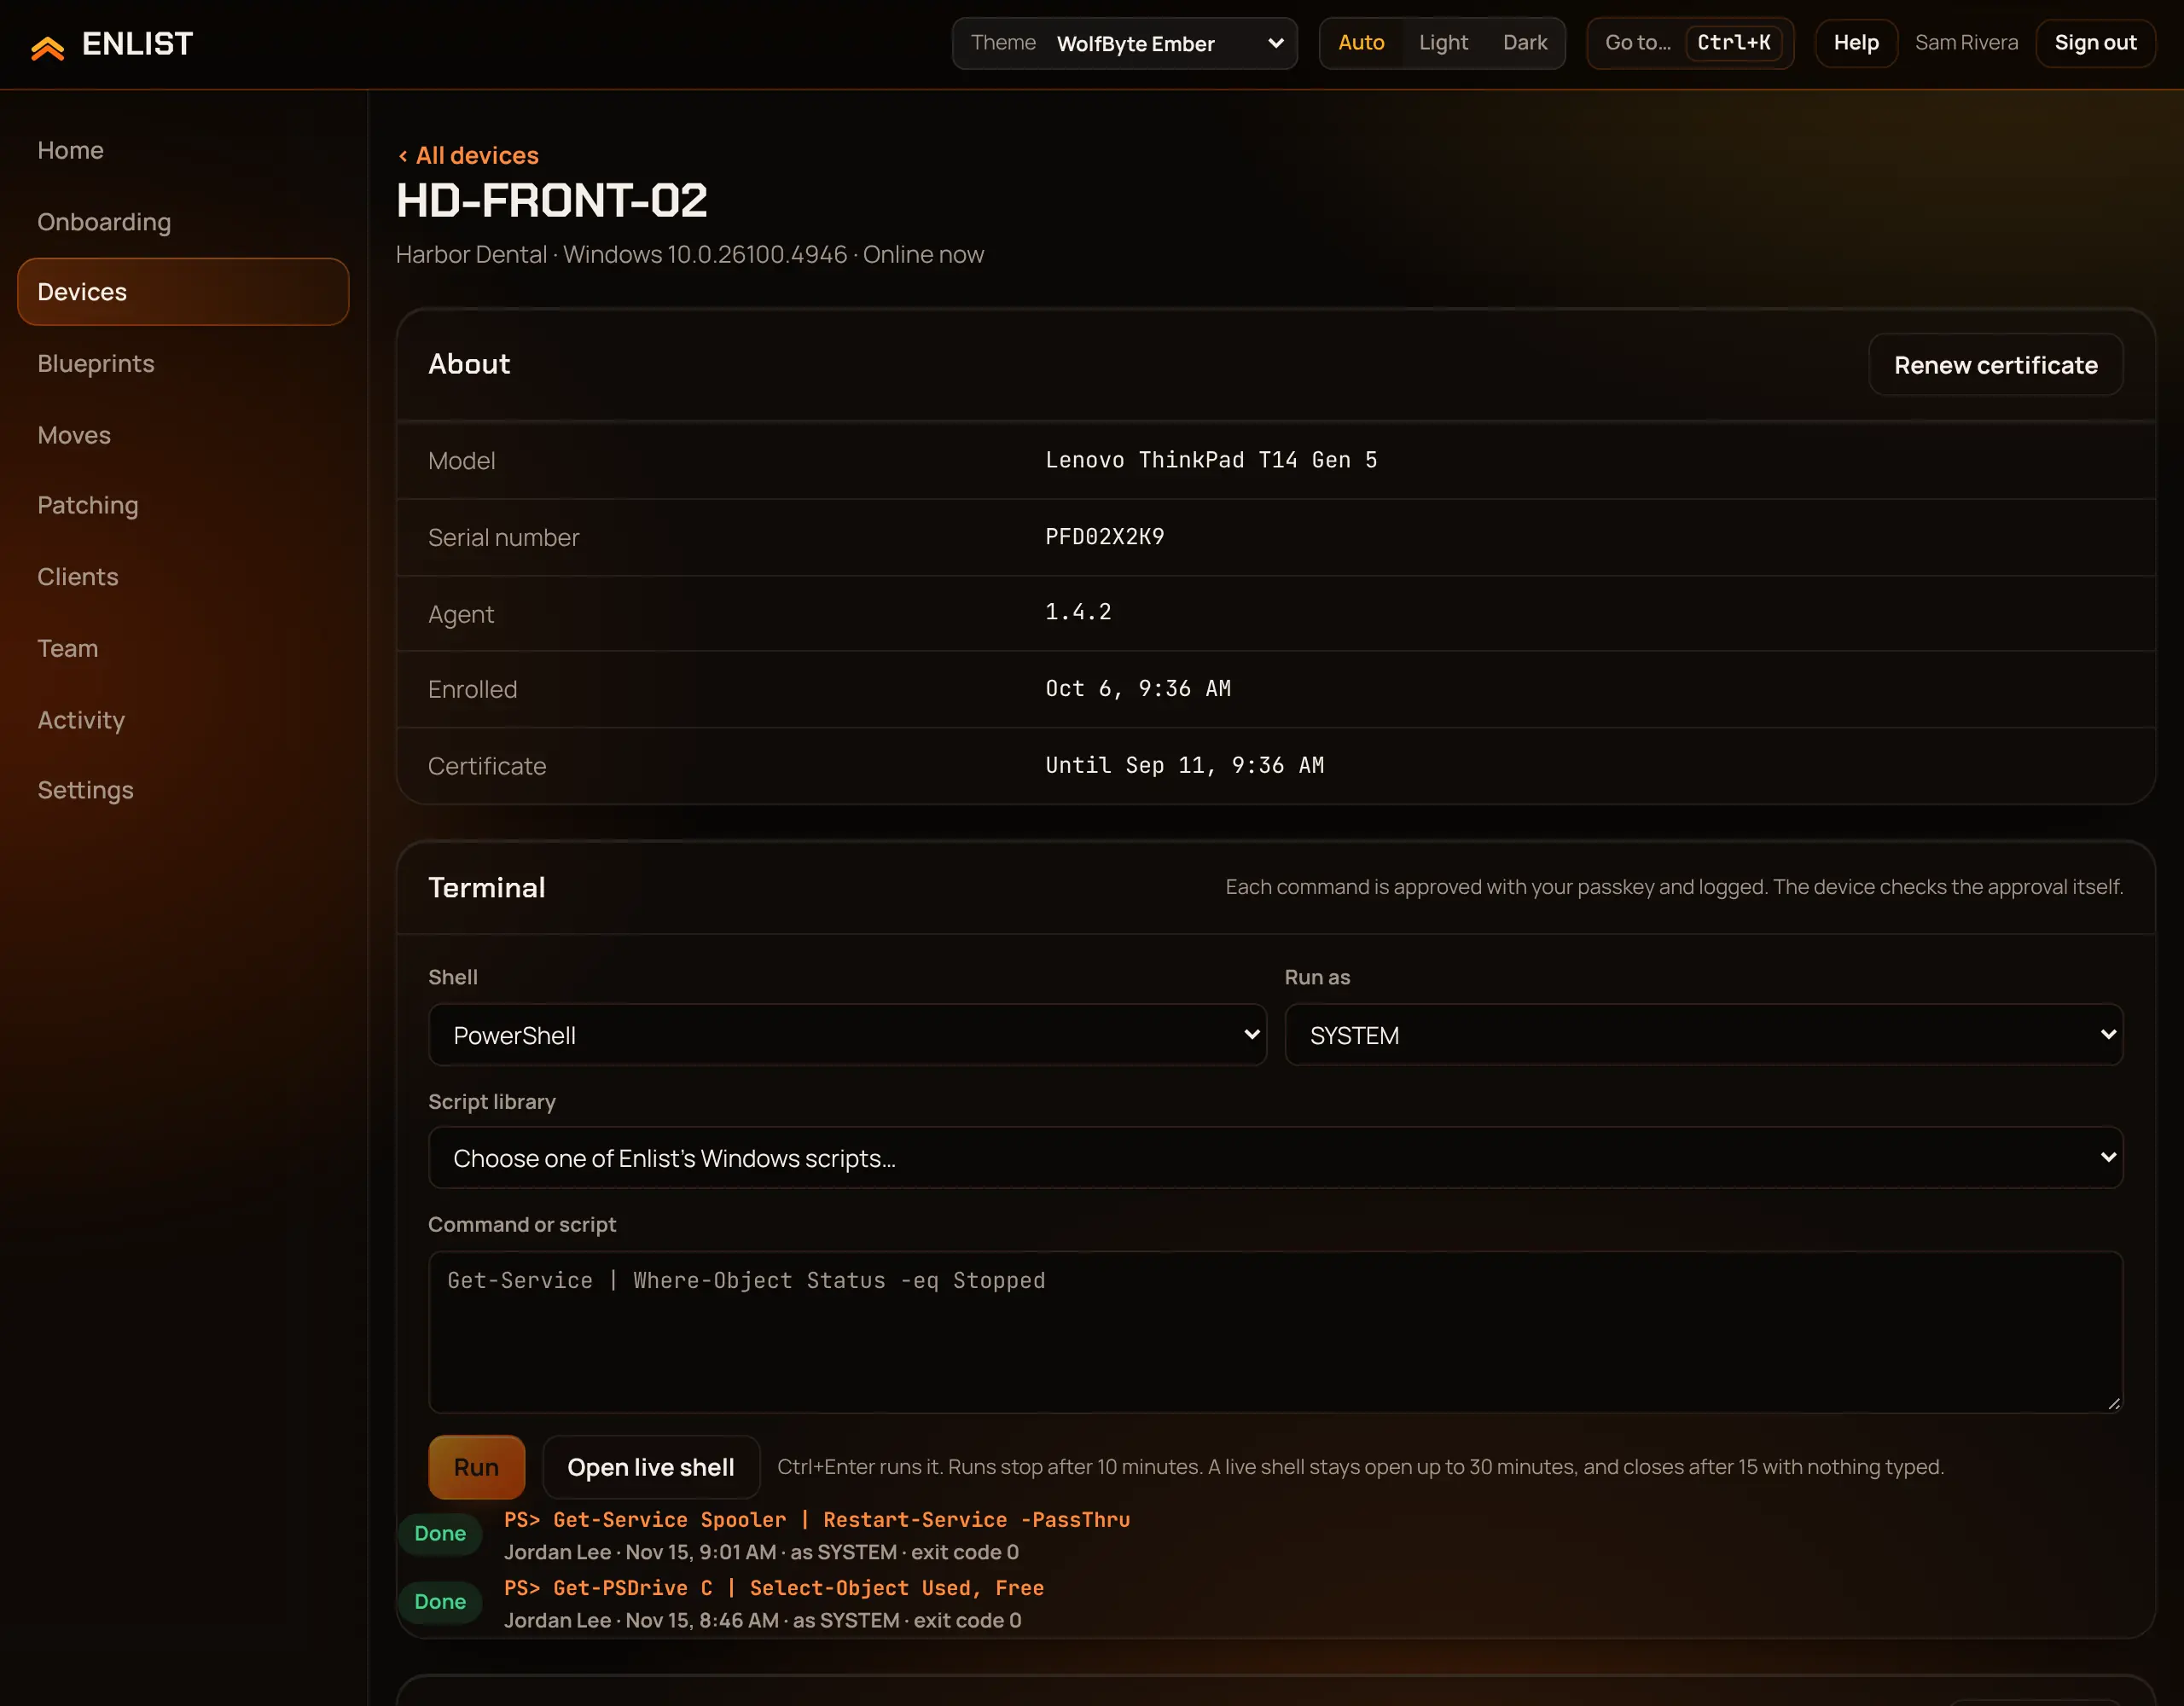
The Terminal panel runs one command or a short script on the device and shows the output.
Pick the Shell: PowerShell or Command Prompt on Windows, zsh or bash on a Mac.
Pick Run as: SYSTEM (root on a Mac) or The signed-in user.
Type it in Command or script and pick Run (or press Ctrl+Enter). Approve it with your passkey.
Your passkey signs exactly that script for that device, and the device checks the signature itself. A run must start within 10 minutes and stops after 10. Cancel stops it sooner. The panel keeps the last 50 runs with who ran what. You need the right to work on devices (owners, admins and technicians).
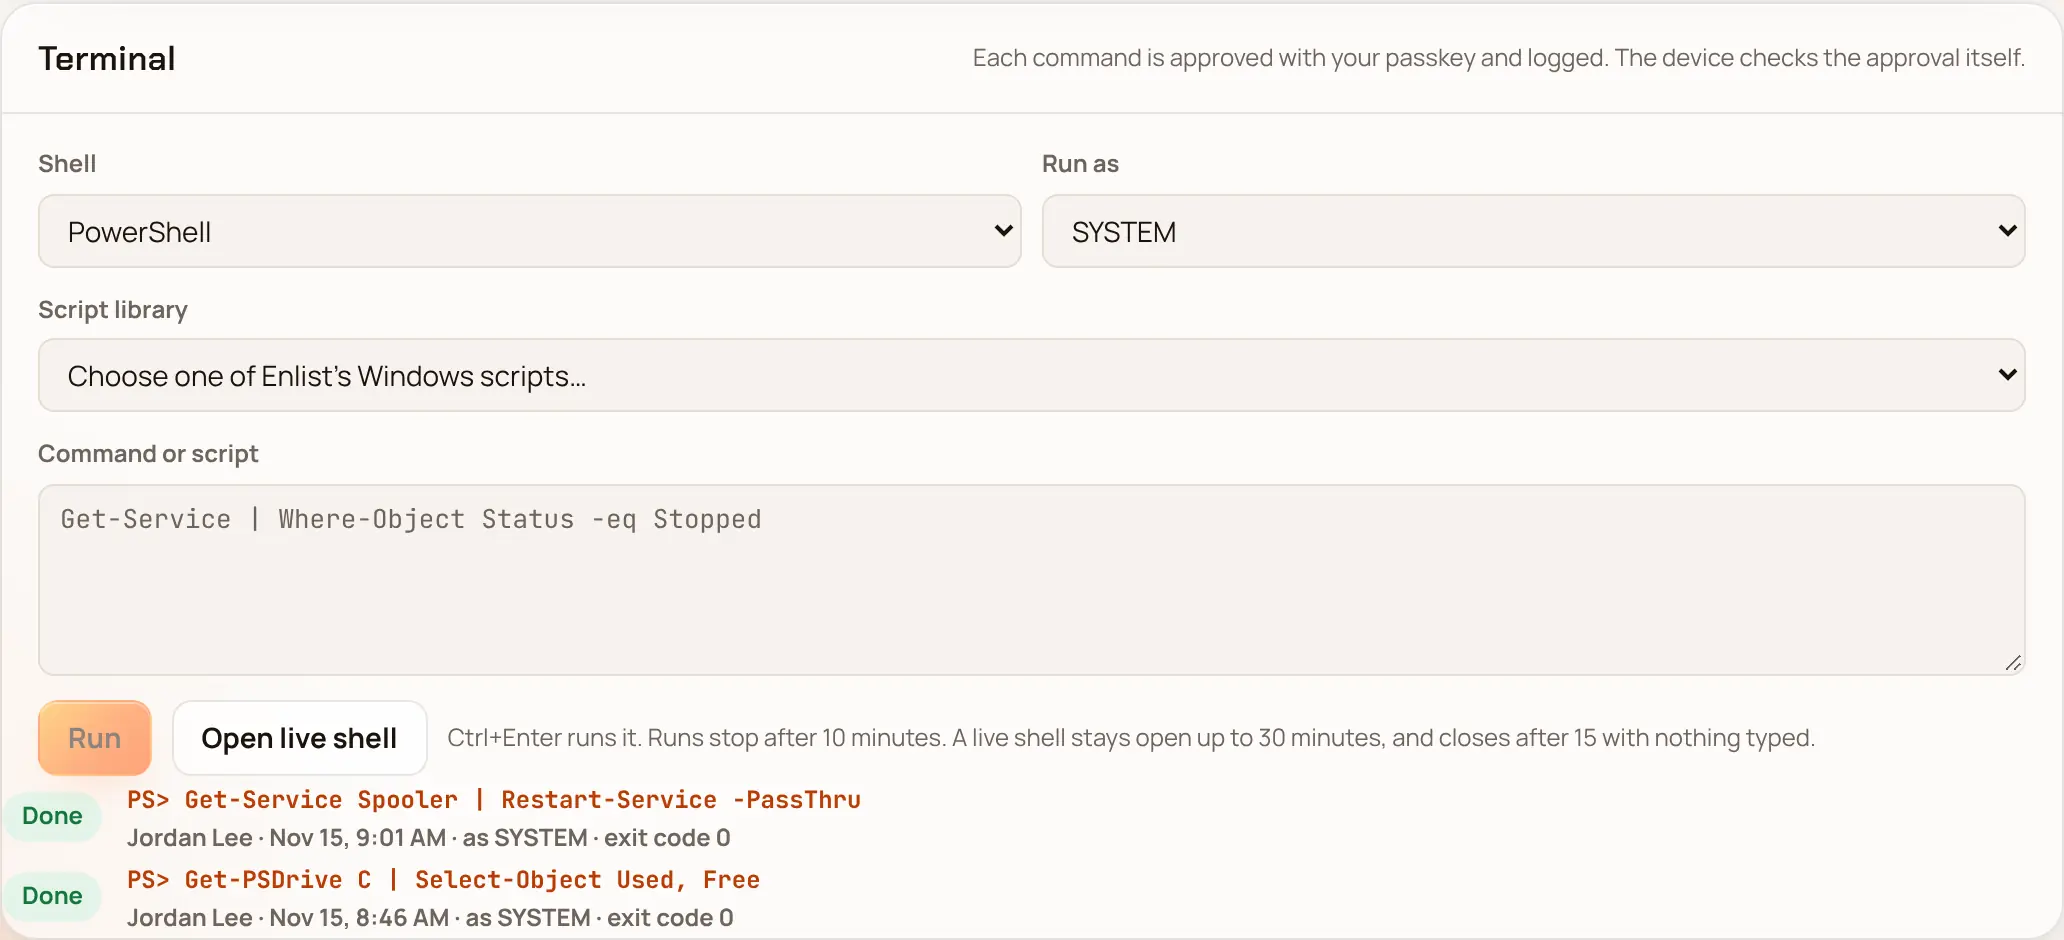
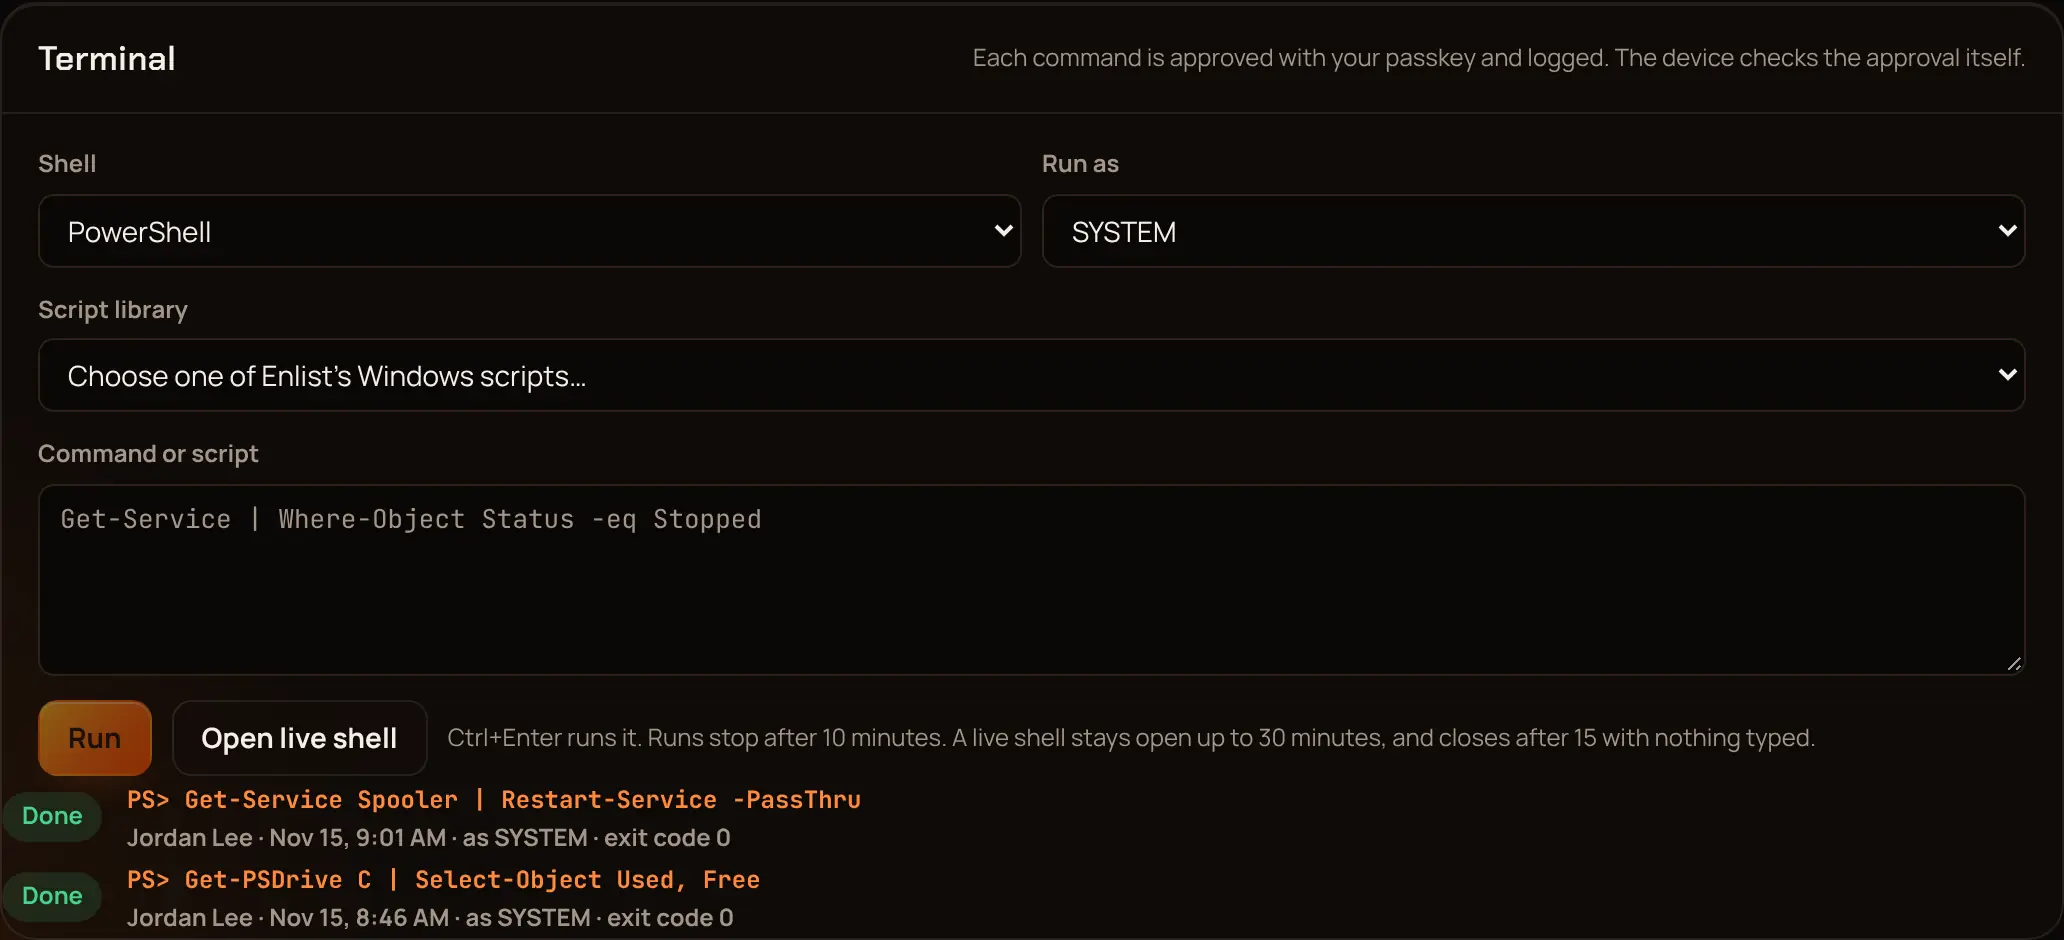
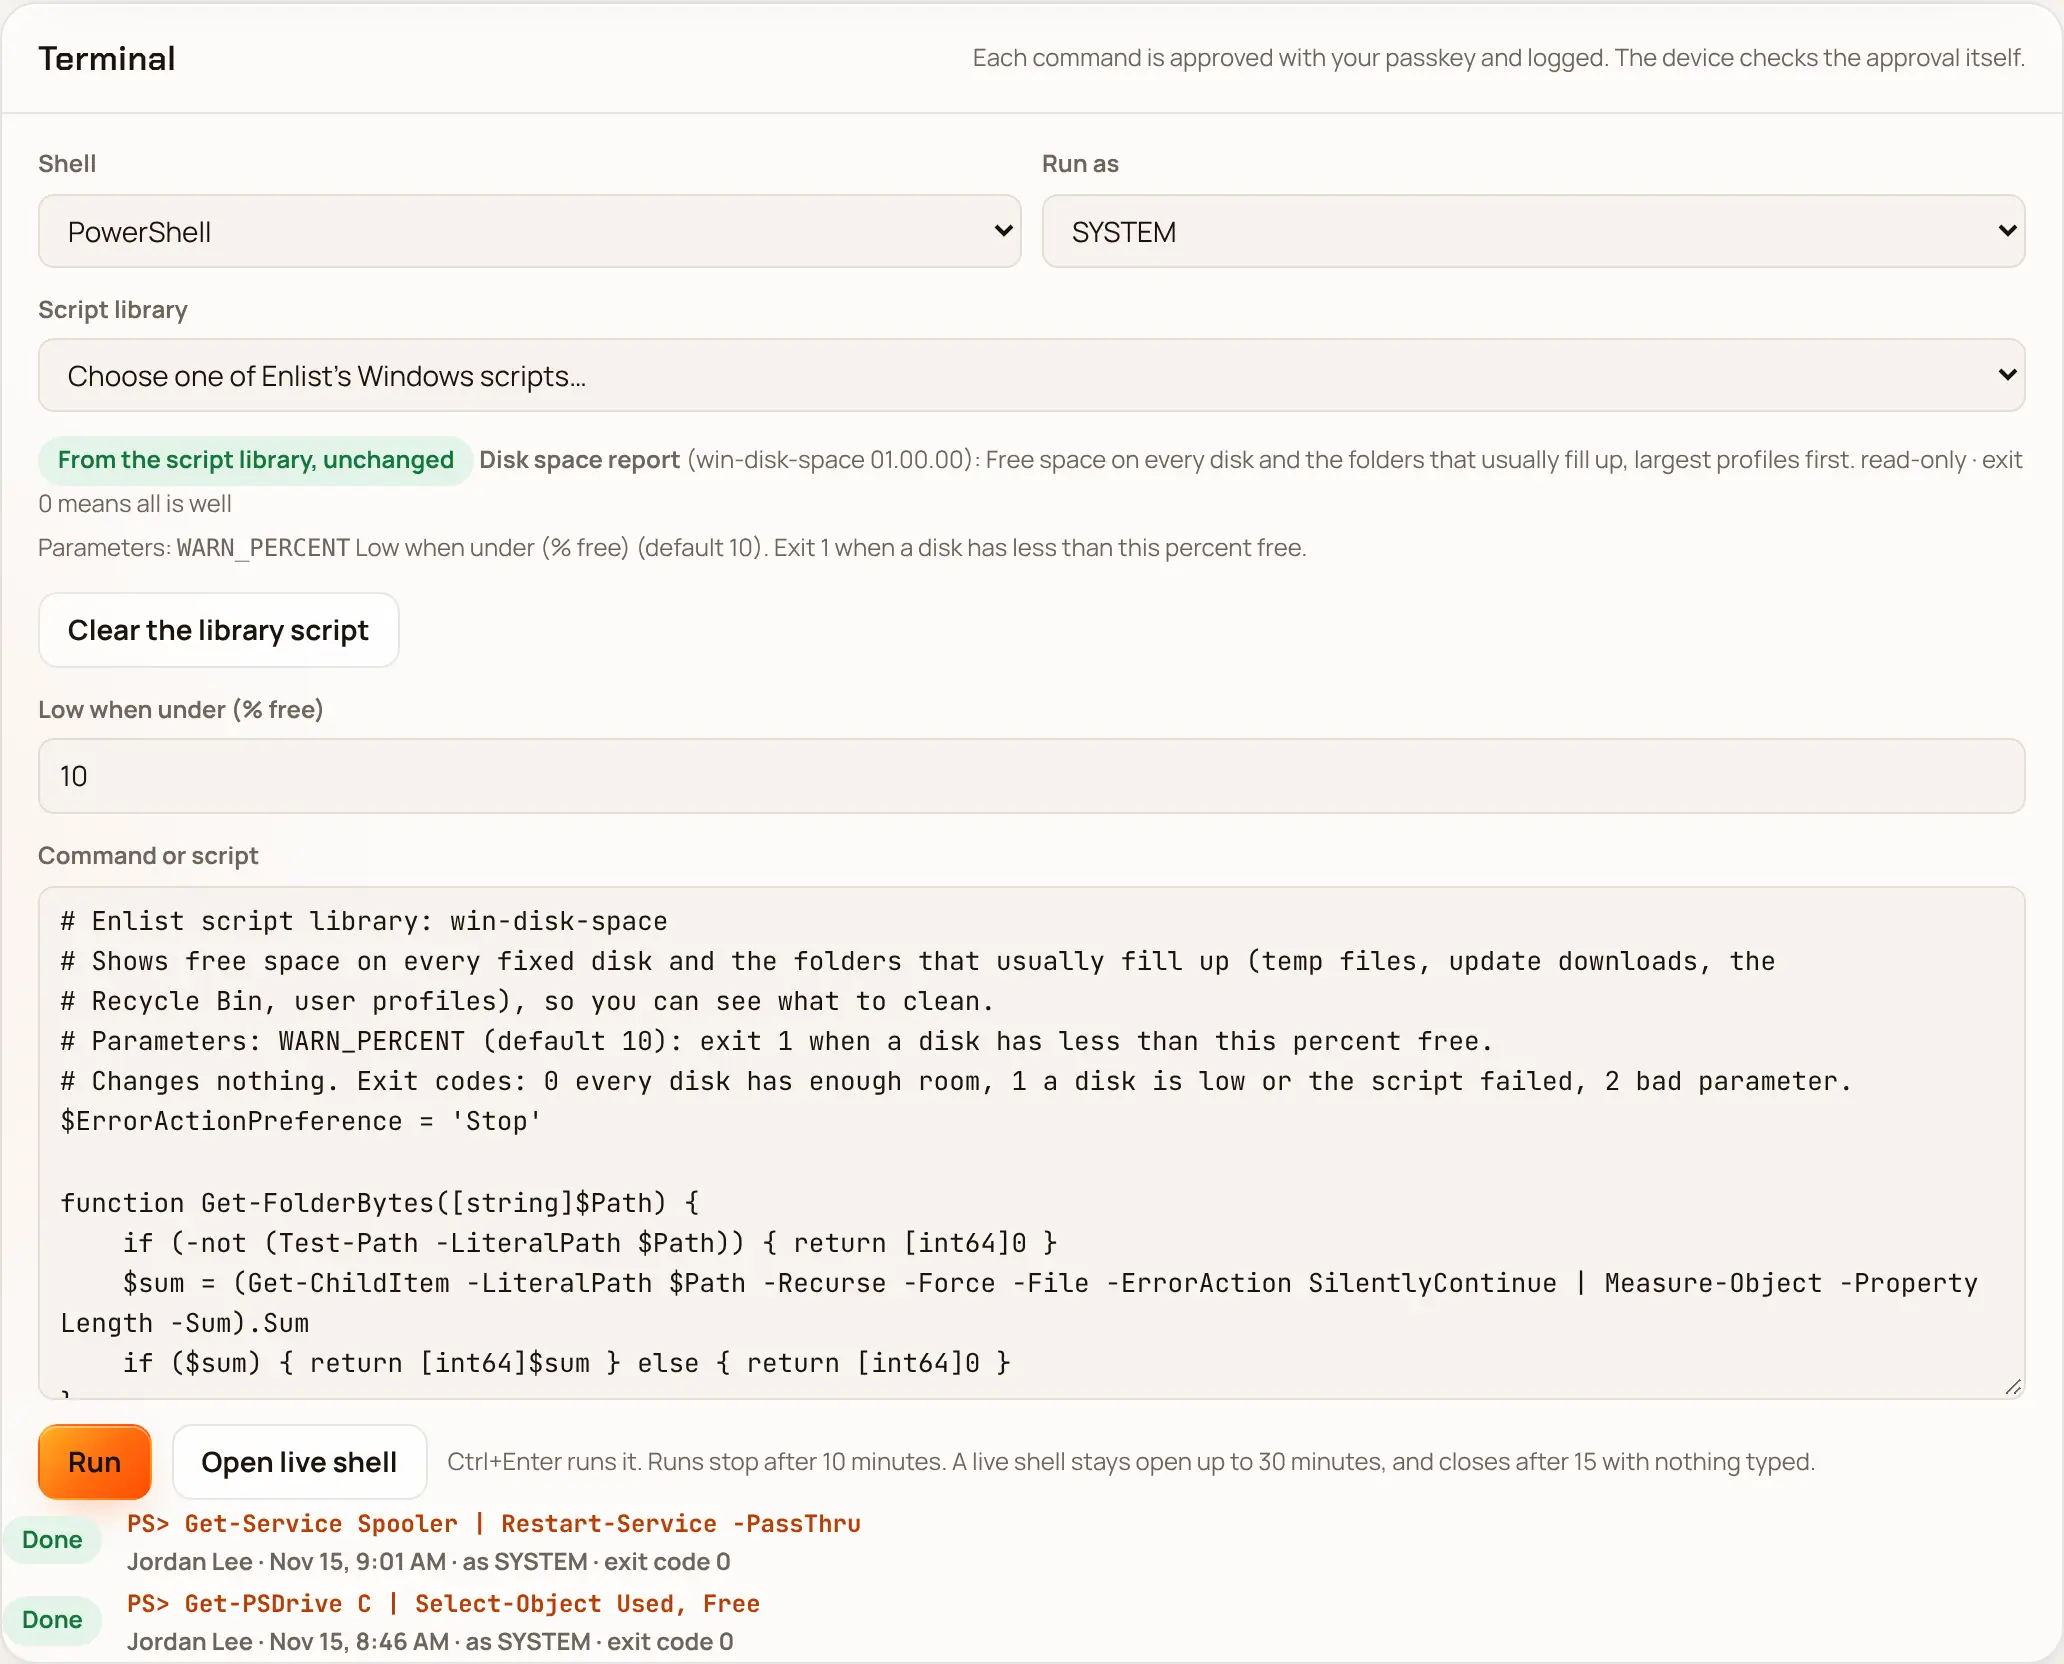
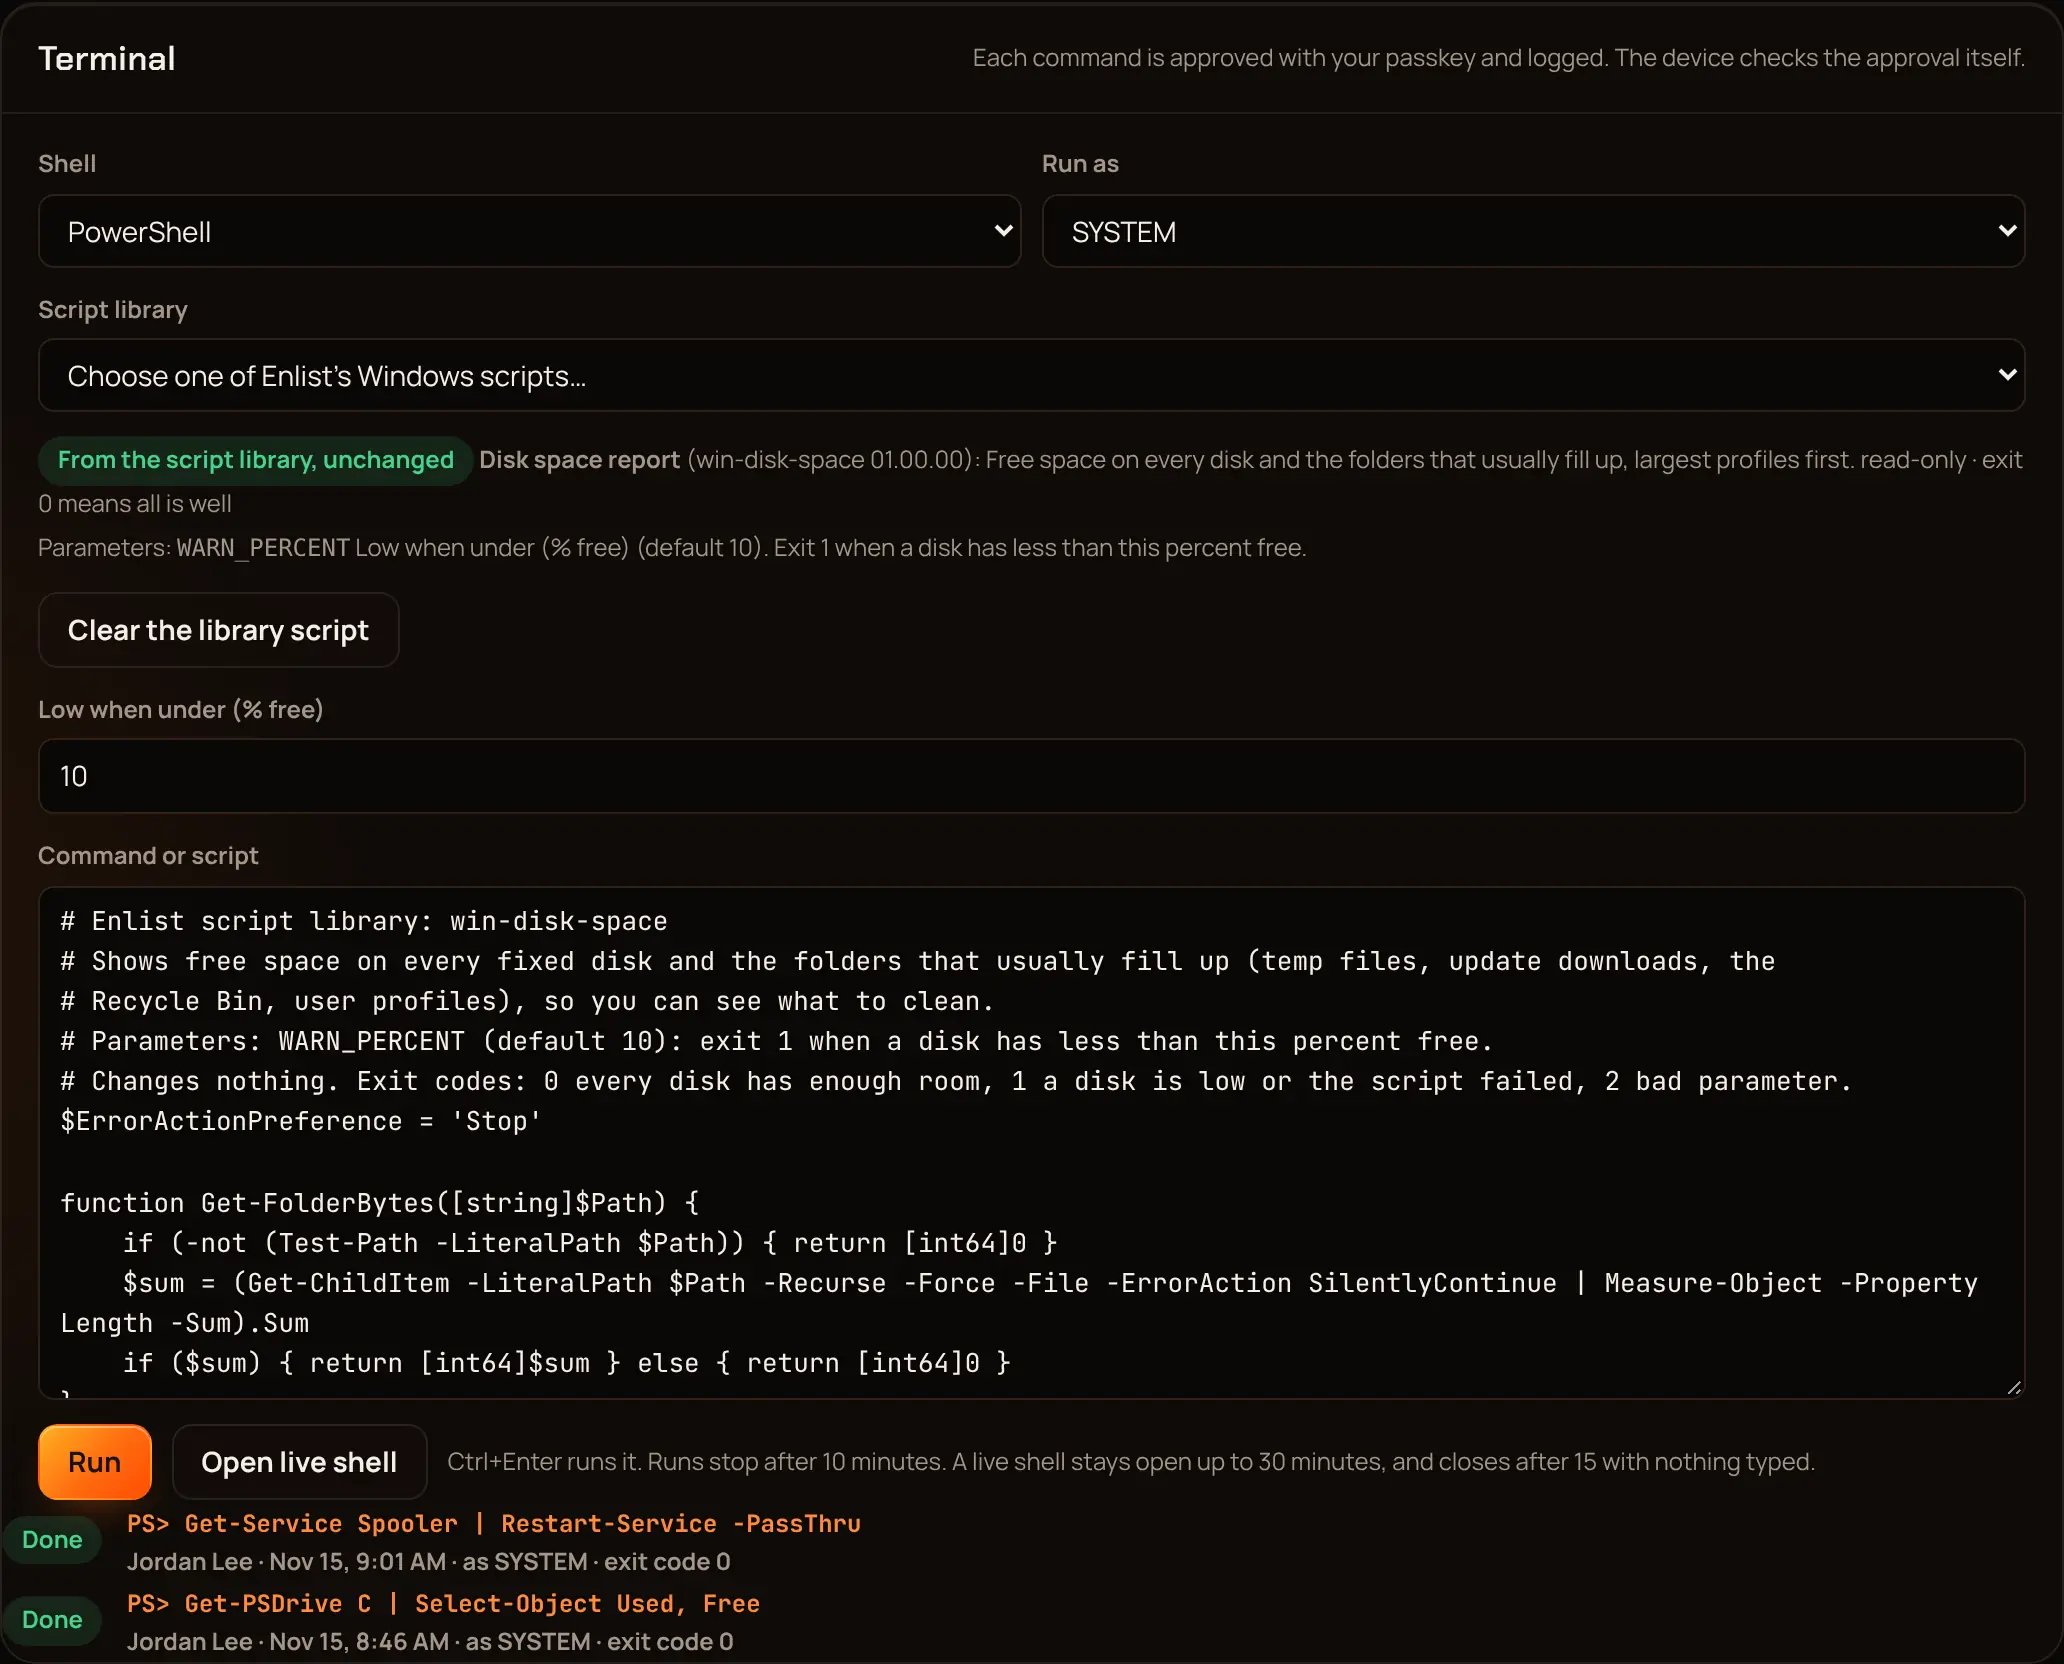
To run one of Enlist's own scripts, pick it under Script library. Its parameters appear with their defaults, and the panel shows From the script library, unchanged while the text still matches. See the script library for every script.
Live shell #
For more than one command, pick Open live shell in the Terminal panel and approve it with your passkey. You get a real terminal on the device: PowerShell or Command Prompt on Windows, zsh or bash on a Mac, as SYSTEM (root) or as the signed-in user, with Ctrl+C and resizing working as you'd expect.
- The device must be online. A live shell stays open up to 30 minutes, and closes after 15 minutes with nothing typed.
- Your passkey approves the session, and your browser makes a key for it that never leaves the page. Every keystroke is signed with that key, in order, and the device checks each one. The server can delay what you type, but it can't add to it, change it or reorder it.
- What you type goes to the device as you type it, and what the device shows comes back the moment it is sent, over one connection kept open for the session. If that connection drops, the shell carries on the slower way by itself (sending each key and checking for output a few times a second) and reconnects when it can.
- Only the person who opened the shell can type into it.
- The session is in the Terminal history and the audit log. Anyone who can work on devices can replay what it showed and read everything typed into it.
Move a user to a new computer #
Moves copies a person's files and settings from their old computer to a new one.
In Moves, pick Move a user and choose the New computer (already onboarded).
Pick Get the Helper code. Copy the command for the old computer: on a PC, paste it into PowerShell opened as administrator; on a Mac, paste it into Terminal (it asks for the Mac's password). It downloads the signed Enlist Helper, runs it with the move's one-time code and removes it when it ends. Nothing is installed, and the old computer is never changed.
The Helper shows a fingerprint for the old computer. It then shows the new computer's fingerprint: type
yesonly if the move in the console shows the same one Where nobody can type, as when an RMM or a remote shell runs the command, add the fingerprint the move shows for the new computer after the code, in quotes.In Check and start, choose which accounts move and what each Becomes on the new computer, and check the fingerprint the Helper shows on the old computer matches.
Pick Start the move and approve with your passkey.
Owners' and admins' passkeys can start moves. A technician's can once an owner or admin adds it in Settings → Who can start moves. Cancel move and New code are there if you need them. An MSP can have 20 unfinished moves, each up to 500 GB.
From your own tools #
An API key with devices:read reads devices, their inventory, patches and onboarding, and one with devices:organize can set tags, groups and patch rings. See the API reference.
Last updated 2026-11-19. Something wrong or missing? Email [email protected].